Make sure your device has
node installed. You can download it from nodejs.org/download.Server info
Tokenomist MCP Server (Production)
- Endpoint:
https://mcp.tokenomist.ai/ - Status: Stable — monitored, multi-replica deployment with 24/7 uptime.
- Transport: MCP Streamable HTTP.
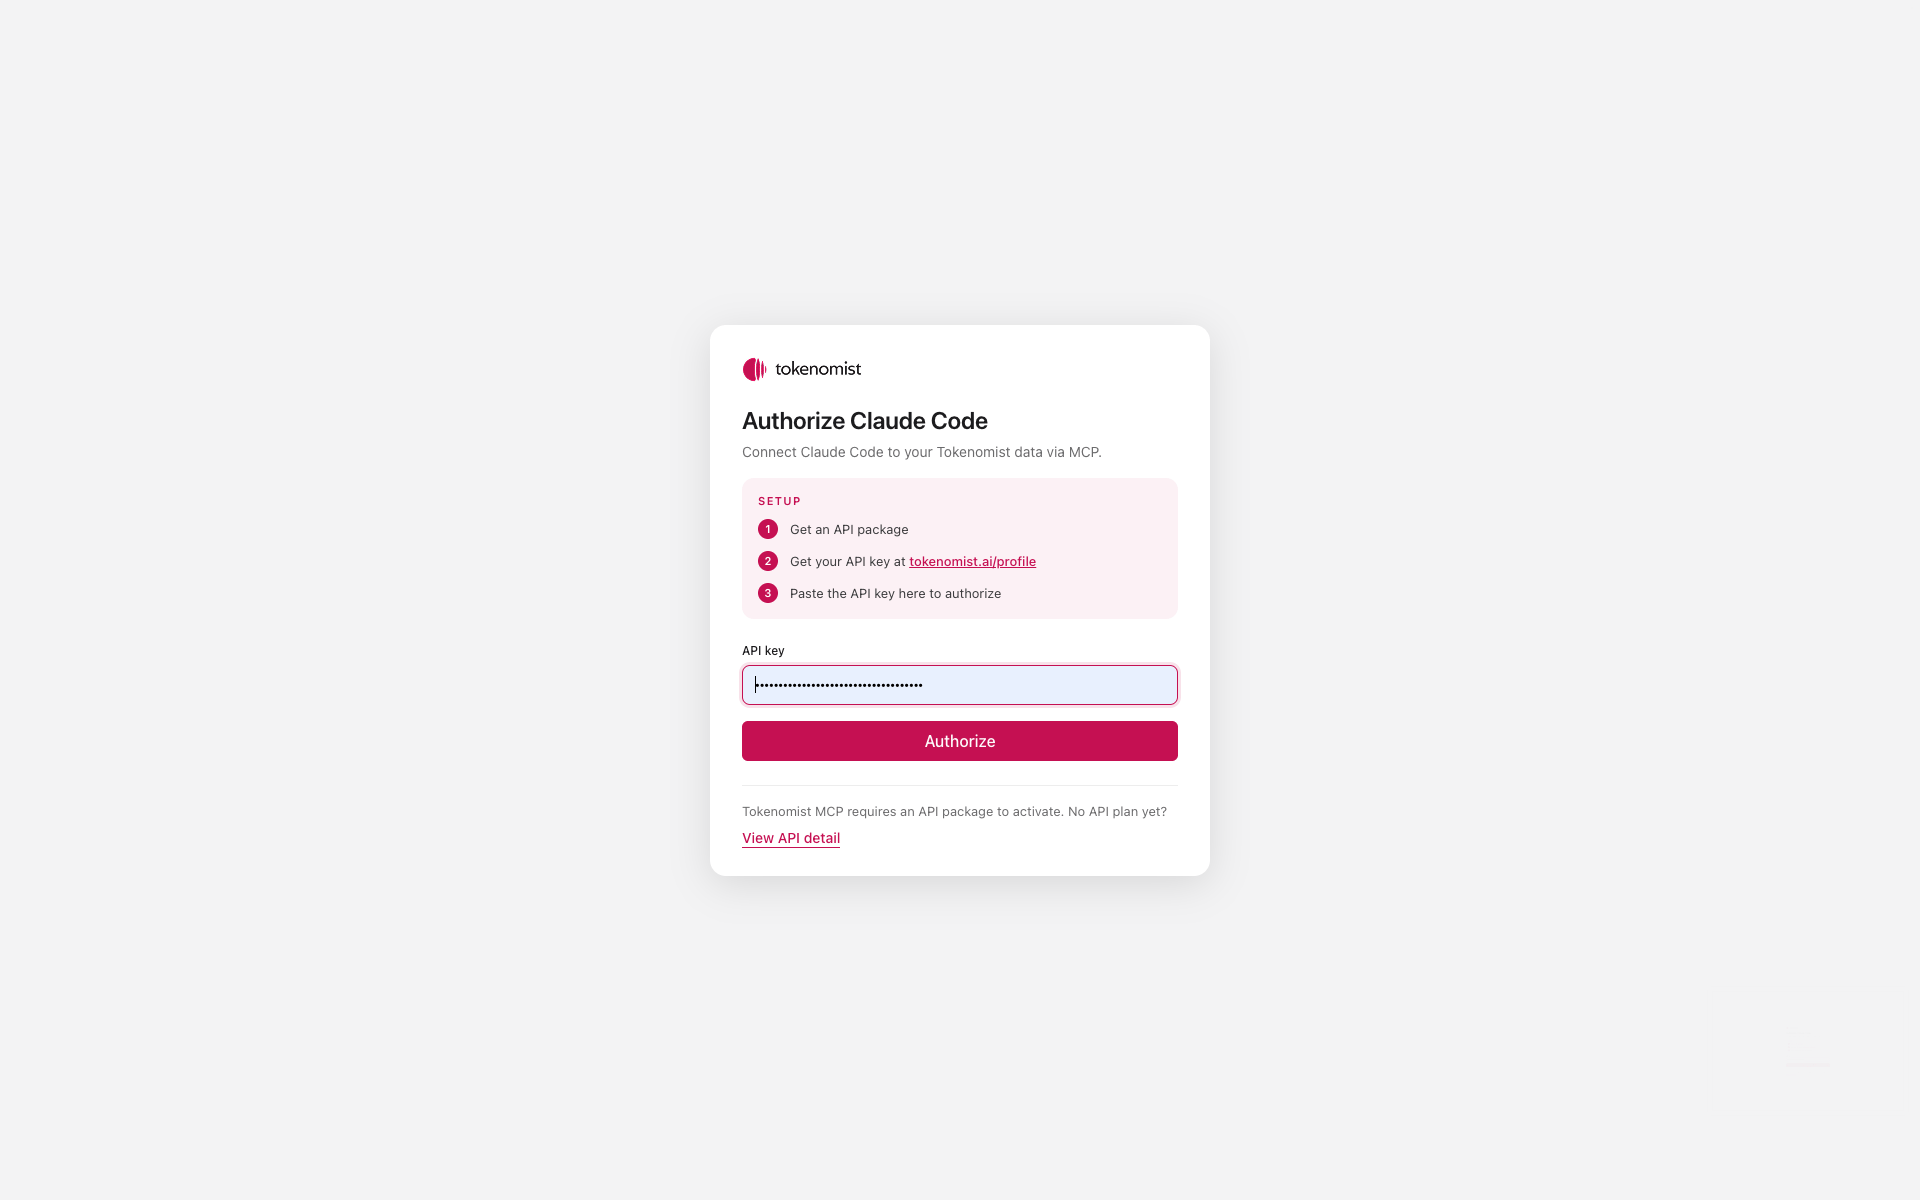
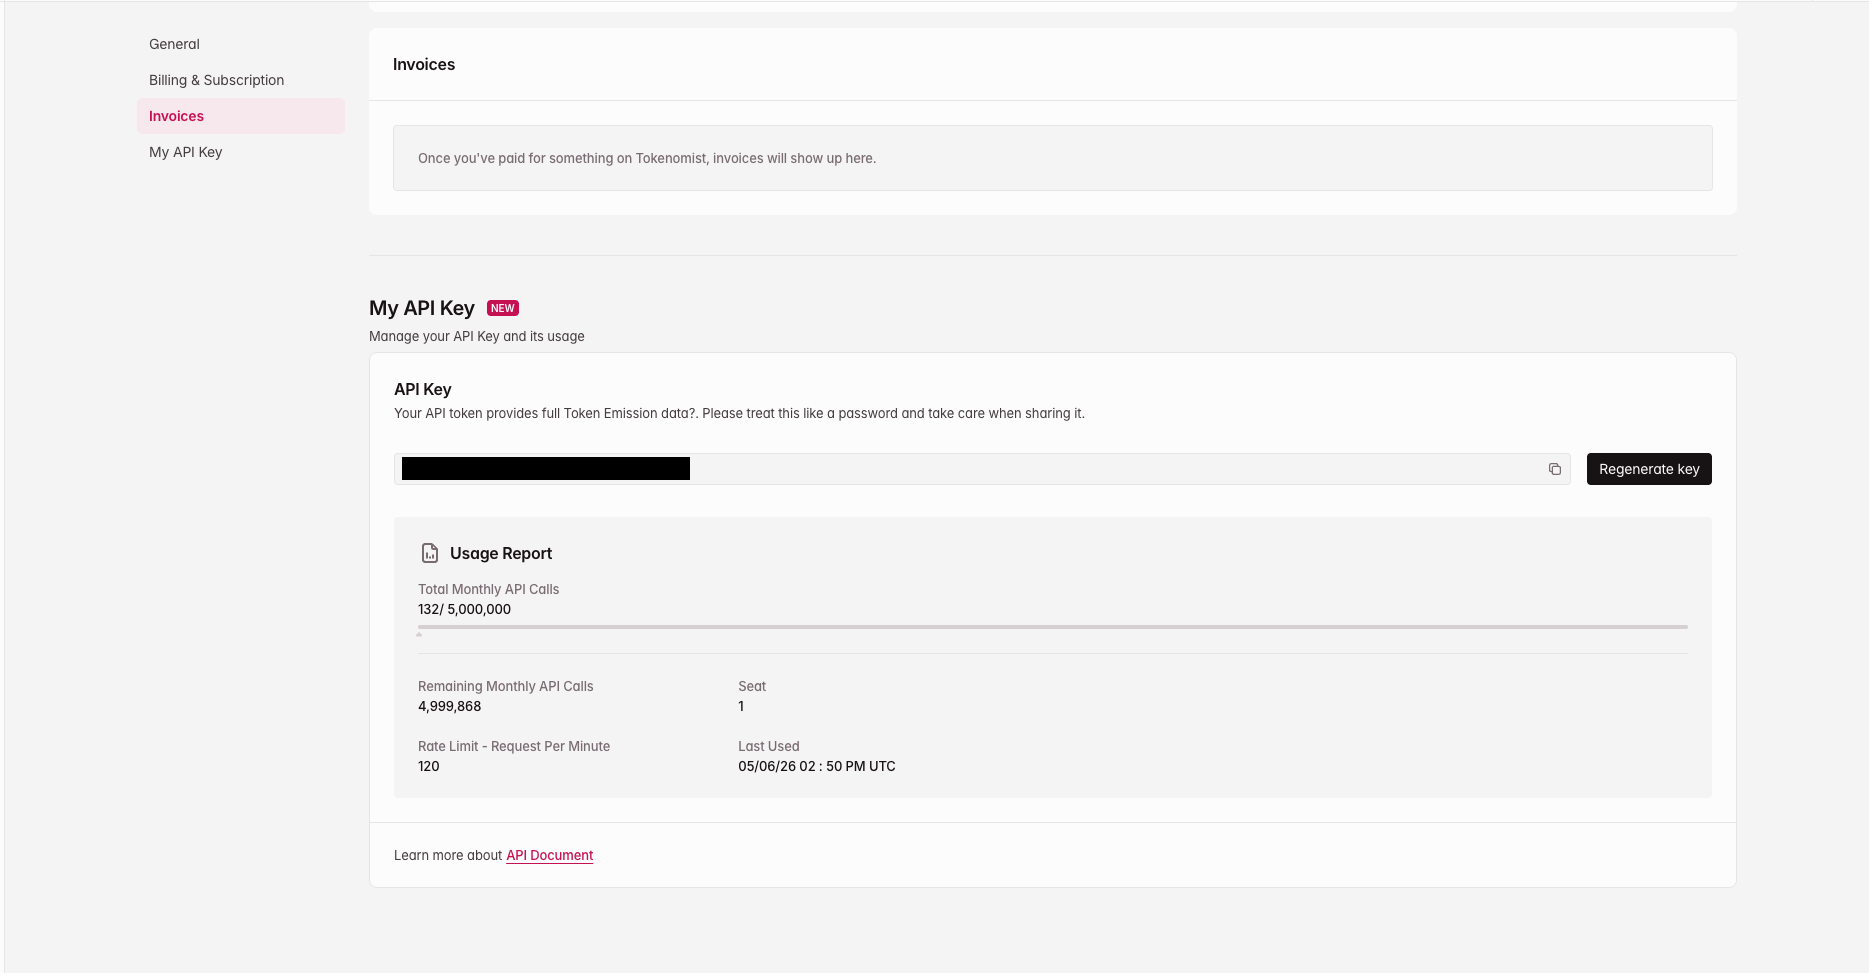
- Auth: OAuth 2.1 with PKCE. A Tokenomist API key is required (used once during sign-in). See Authentication.
- Best for: Production AI agents and integrations, research assistants and chatbots that need tokenomics context, and quick prototyping against real Tokenomist data.
Configuration
Add the following to your client’s MCP config file (e.g.mcp_config.json or claude_desktop_config.json):
Connect your client
- Claude Desktop (Free)
- Claude Pro
- Claude Code
- ChatGPT
Free users must use the Claude Desktop app and modify the configuration file.
Locate the config file
Find
claude_desktop_config.json on your system by following the instructions here.Add the server config
Add the server configuration shown above.