> ## Documentation Index
> Fetch the complete documentation index at: https://docs.tokenomist.ai/llms.txt
> Use this file to discover all available pages before exploring further.
# Getting started
> Point any MCP-compatible client at the Tokenomist hosted endpoint and connect in minutes.
Connecting your AI to Tokenomist is simple. Point any MCP-compatible client at our hosted endpoint. Most MCP clients — Claude Desktop, Claude Code, Cursor, ChatGPT, Gemini CLI, and others — can be configured with a single JSON snippet.
Make sure your device has `node` installed. You can download it from [nodejs.org/download](https://nodejs.org/en/download).
## Server info
**Tokenomist MCP Server (Production)**
* **Endpoint**: `https://mcp.tokenomist.ai/`
* **Status**: Stable — monitored, multi-replica deployment with 24/7 uptime.
* **Transport**: MCP Streamable HTTP.
* **Auth**: OAuth 2.1 with PKCE. A Tokenomist API key is required (used once during sign-in). See [Authentication](/mcp/authentication).
* **Best for**: Production AI agents and integrations, research assistants and chatbots that need tokenomics context, and quick prototyping against real Tokenomist data.
## Configuration
Add the following to your client's MCP config file (e.g. `mcp_config.json` or `claude_desktop_config.json`):
```json theme={null}
{
"mcpServers": {
"tokenomist": {
"command": "npx",
"args": [
"mcp-remote",
"https://mcp.tokenomist.ai/"
]
}
}
}
```
**Where is my config file?** The file name and location depend on your client. See [modelcontextprotocol.io/quickstart](https://modelcontextprotocol.io/quickstart/user#2-add-the-filesystem-mcp-server) for client-specific paths.
## Connect your client
Free users **must use the Claude Desktop app** and modify the configuration file.
Find `claude_desktop_config.json` on your system by following the instructions [here](https://modelcontextprotocol.io/quickstart/user).
Add the [server configuration](#configuration) shown above.
Restart the app for the changes to take effect.
On first use, a browser tab opens to the Tokenomist sign-in page — paste your Tokenomist API key to authorize.
In Claude ([claude.ai](https://claude.ai/) or the Desktop app), click **Add connectors** in your chat.
Click **Add custom connector**.
Enter the remote MCP server URL: `https://mcp.tokenomist.ai/`
Click **Add** — the Tokenomist sign-in page opens. Paste your API key to authorize.
You can also follow the same steps as Free users by editing `claude_desktop_config.json`.
Add the server to your Claude Code MCP config:
```bash theme={null}
claude mcp add --transport http tokenomist https://mcp.tokenomist.ai/
```
Or edit `~/.claude/mcp.json` (or your project-level `.mcp.json`) directly:
```json theme={null}
{
"mcpServers": {
"tokenomist": {
"type": "http",
"url": "https://mcp.tokenomist.ai/"
}
}
}
```
Then authorize the server from inside Claude Code:
In Claude Code, type `/mcp` and press Enter to open the MCP server menu.
Choose **tokenomist-mcp** from the list of configured servers.
Choose **Authenticate** — Claude Code opens a browser tab to the Tokenomist sign-in page.
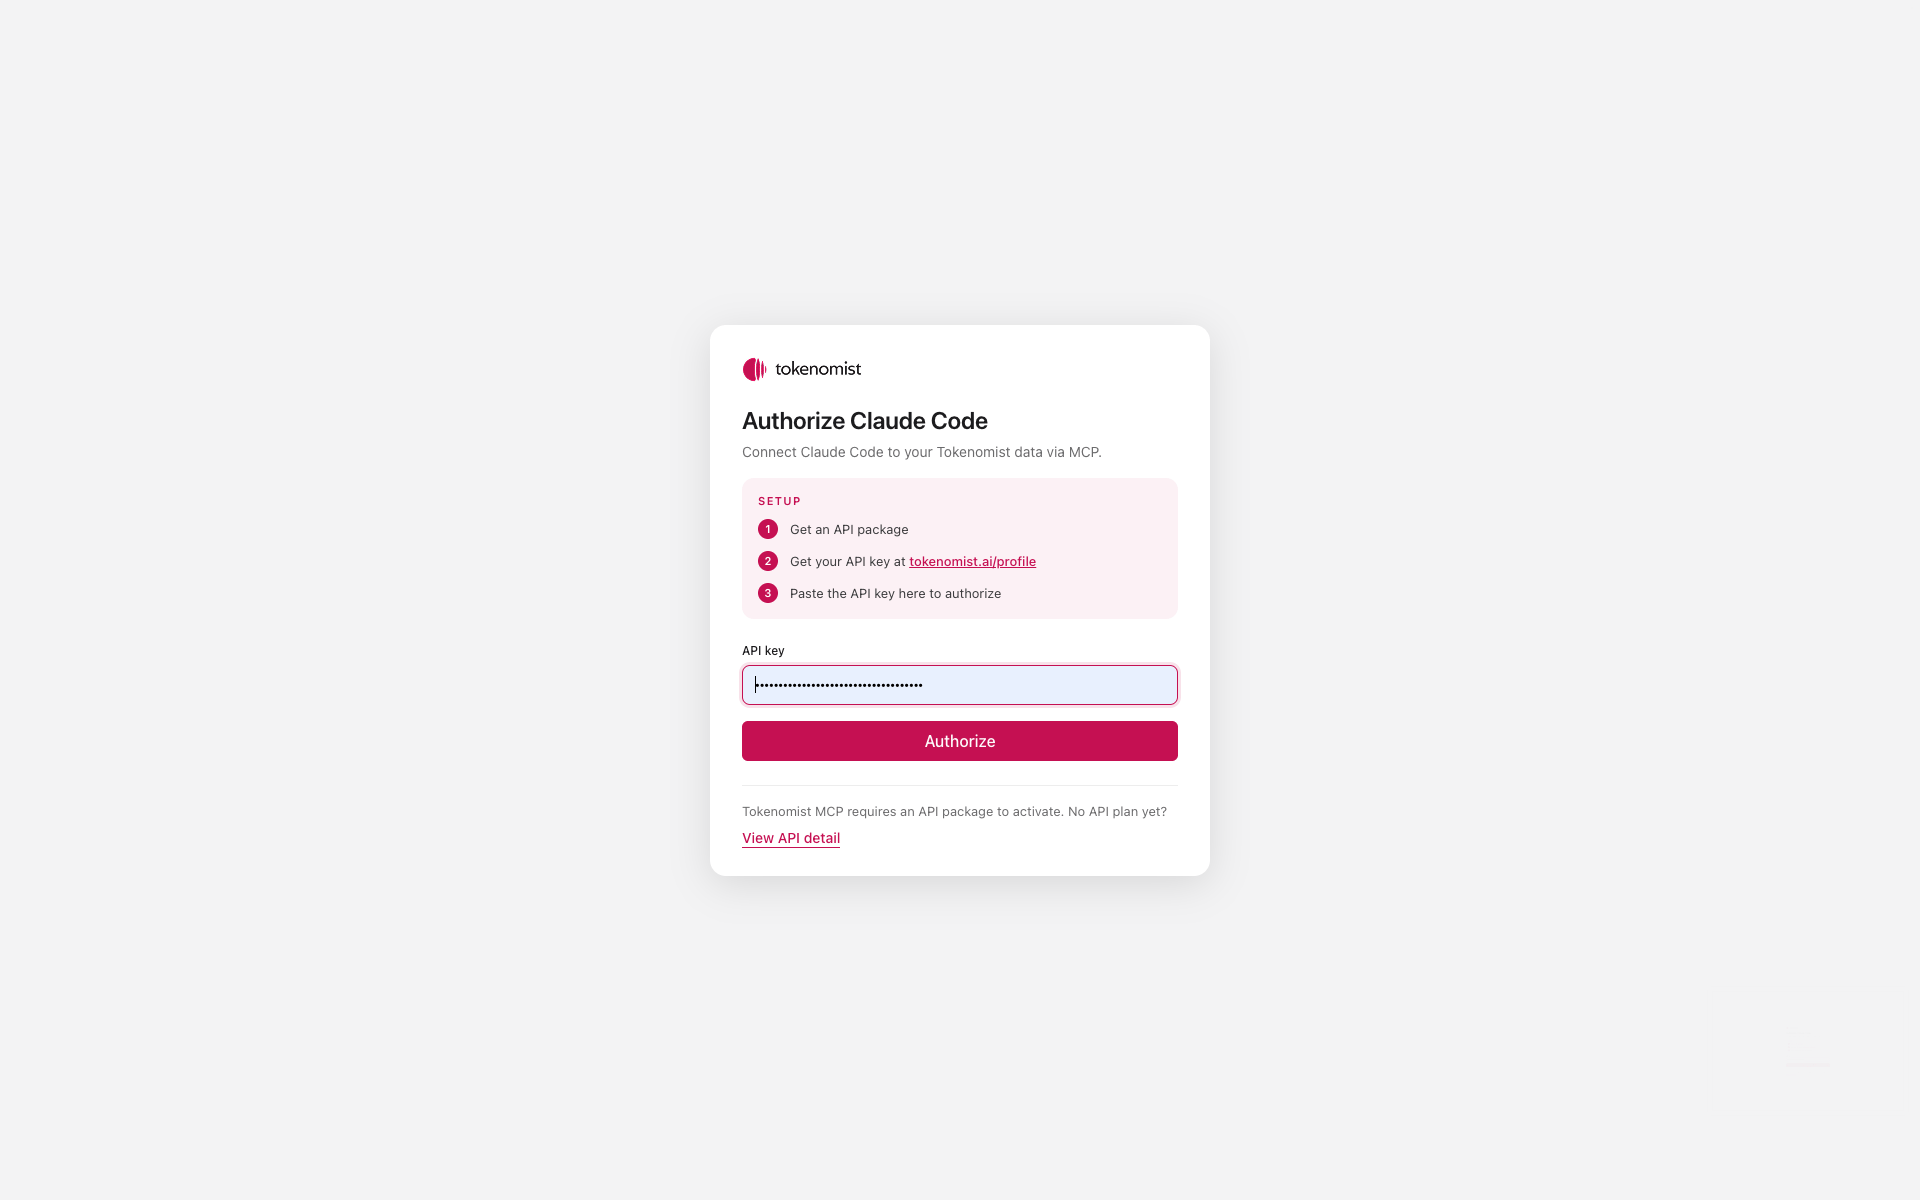
On the authorization page, paste your Tokenomist API key and click **Authorize**. The browser redirects back and Claude Code shows the server as connected.
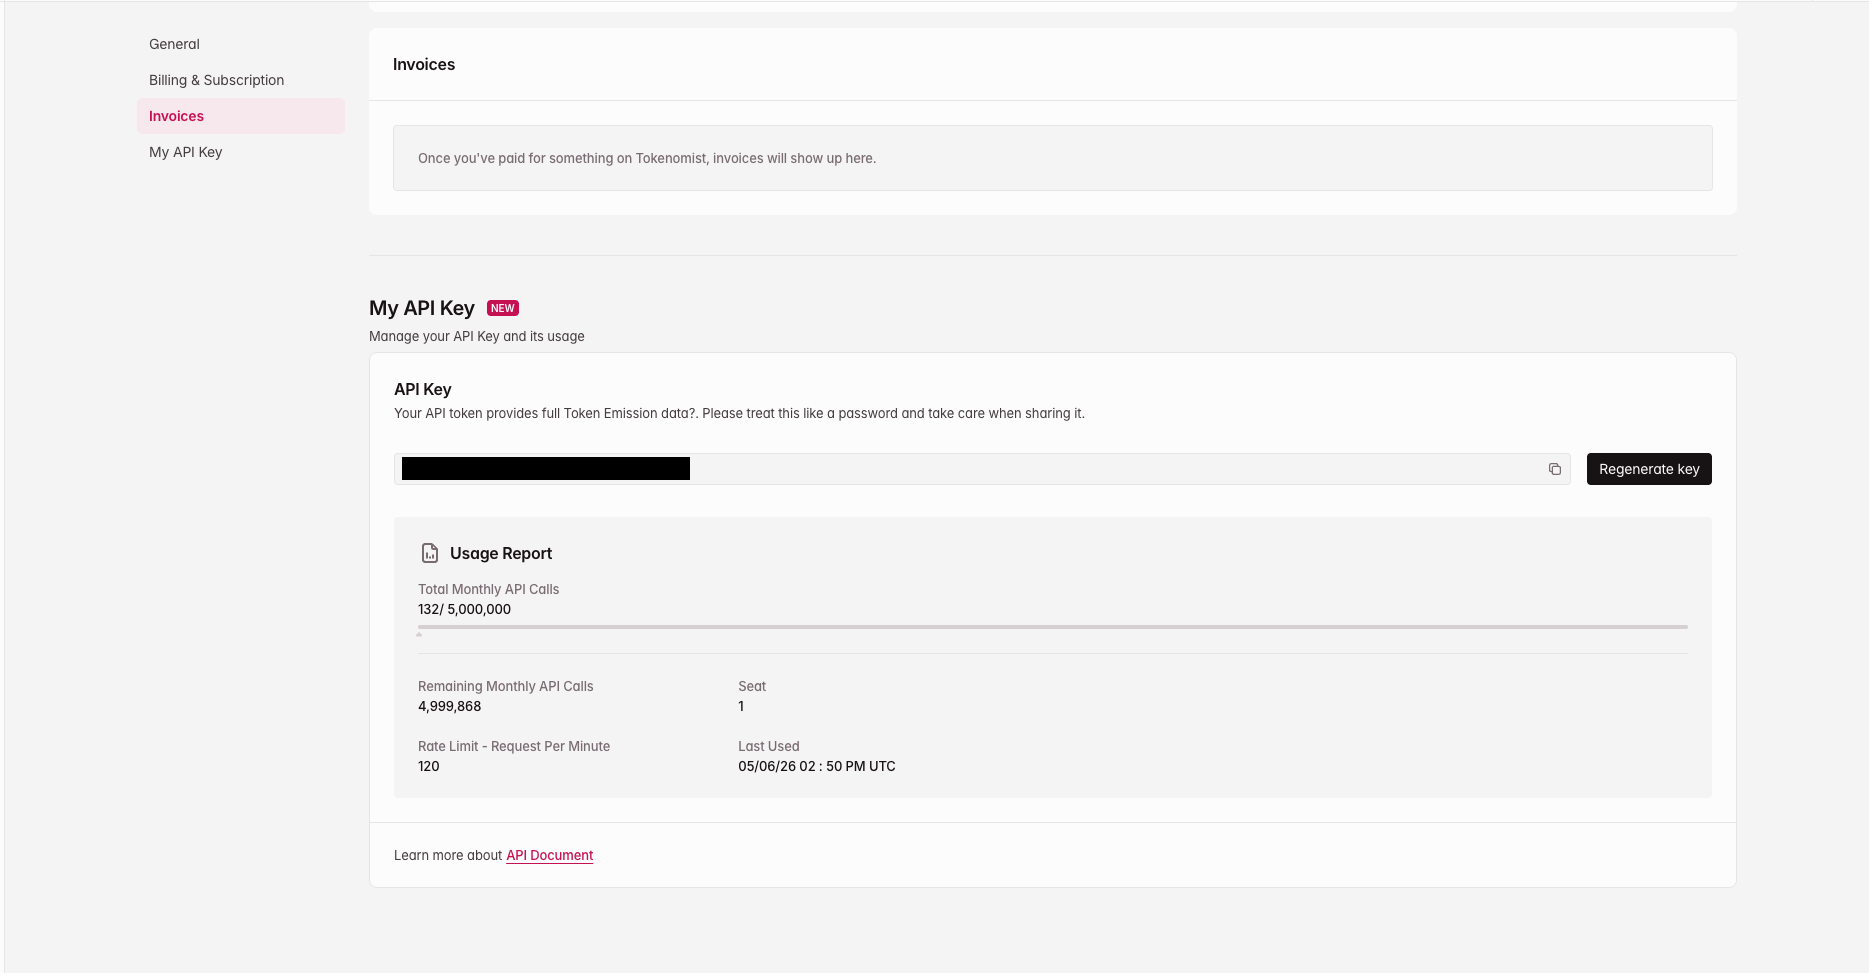
 Find your API key at [tokenomist.ai/profile#my-api-key](https://tokenomist.ai/profile#my-api-key) under the **My API Key** section.
 OpenAI ChatGPT supports MCP connectors when the [developer mode](https://platform.openai.com/docs/guides/developer-mode) toggle is on.
Open **Settings** > **Apps** > **Advanced Settings** and toggle **Developer Mode** on.
In the Connectors modal, click **Create** to open the **New App** form.
* **Name**: `Tokenomist` (any name works)
* **Connection**: keep **Server URL** selected and enter `https://mcp.tokenomist.ai/`
* **Authentication**: select **OAuth**
You can leave Icon and Description blank. **Advanced OAuth settings** auto-populate from the server — no changes needed.
Tick **I understand and want to continue** (ChatGPT shows this for any custom MCP server), then click **Create**.
An **Add Tokenomist to ChatGPT** dialog appears. Click **Sign in with Tokenomist** to open the Tokenomist authorization page.
On the Tokenomist page, paste your API key and click **Authorize**. ChatGPT redirects back with the connector linked.
Before prompting, choose **+** > **More** > **Developer Mode** and turn the Tokenomist MCP tool on.
Once connected, head to [Tools & prompts](/mcp/tools) to see what your agent can do.
OpenAI ChatGPT supports MCP connectors when the [developer mode](https://platform.openai.com/docs/guides/developer-mode) toggle is on.
Open **Settings** > **Apps** > **Advanced Settings** and toggle **Developer Mode** on.
In the Connectors modal, click **Create** to open the **New App** form.
* **Name**: `Tokenomist` (any name works)
* **Connection**: keep **Server URL** selected and enter `https://mcp.tokenomist.ai/`
* **Authentication**: select **OAuth**
You can leave Icon and Description blank. **Advanced OAuth settings** auto-populate from the server — no changes needed.
Tick **I understand and want to continue** (ChatGPT shows this for any custom MCP server), then click **Create**.
An **Add Tokenomist to ChatGPT** dialog appears. Click **Sign in with Tokenomist** to open the Tokenomist authorization page.
On the Tokenomist page, paste your API key and click **Authorize**. ChatGPT redirects back with the connector linked.
Before prompting, choose **+** > **More** > **Developer Mode** and turn the Tokenomist MCP tool on.
Once connected, head to [Tools & prompts](/mcp/tools) to see what your agent can do.